Monday, February 25, 2008

First Start

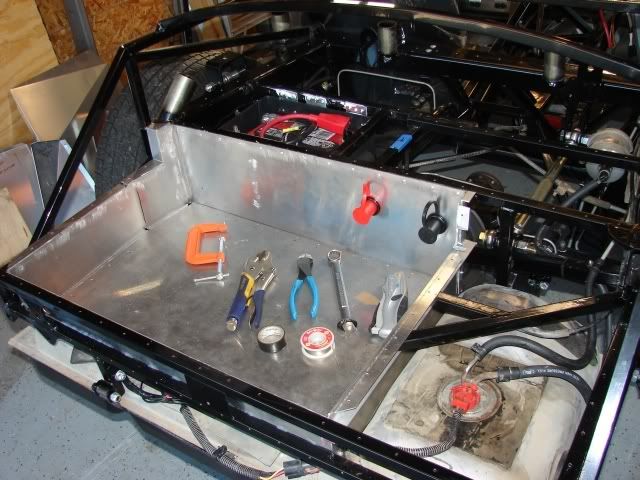
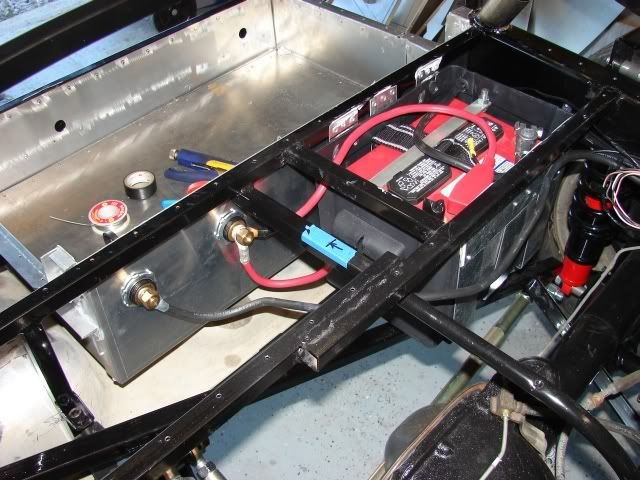
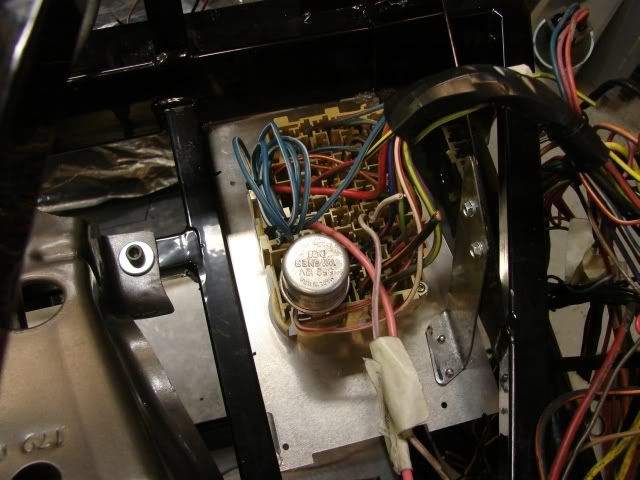
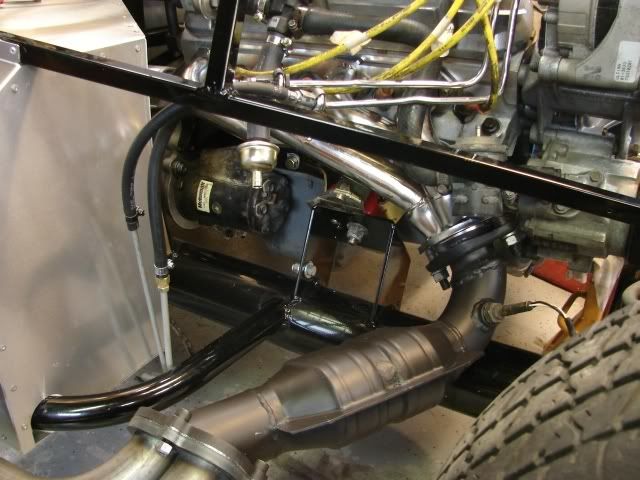
Started the Cobra today!! First start. Engine came right to life and sounded great. We did find a minor fuel leak - easy to fix, and an oil leak. The oil leak may take a bit of work. I used a kit to relocate the oil filter from the engine block to the frame in front of the engine. The oil is leaking at the adapter on the engine block. I was told this might be a problem so I'm disappointed but not surprised.

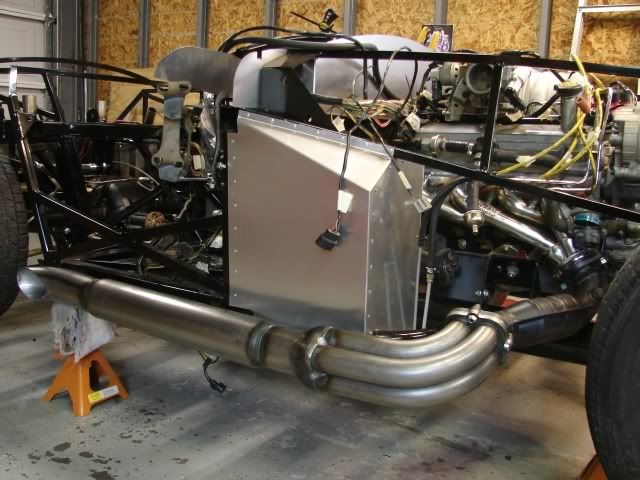
There are no mufflers on the car yet - they are being ceramic coated right now. So, first start was just thru the catalytic converters. Sounds pretty good.

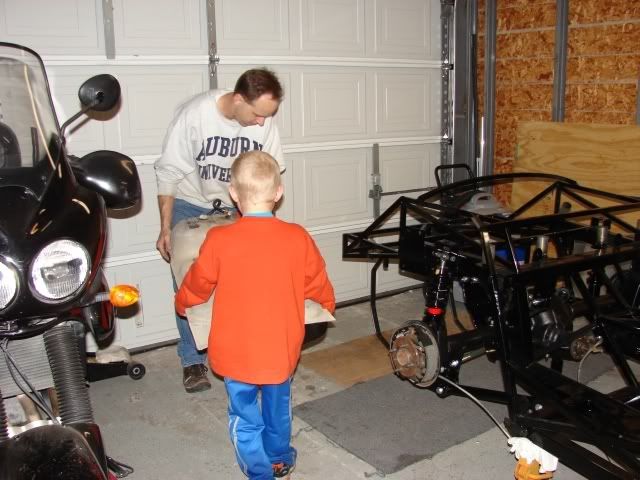
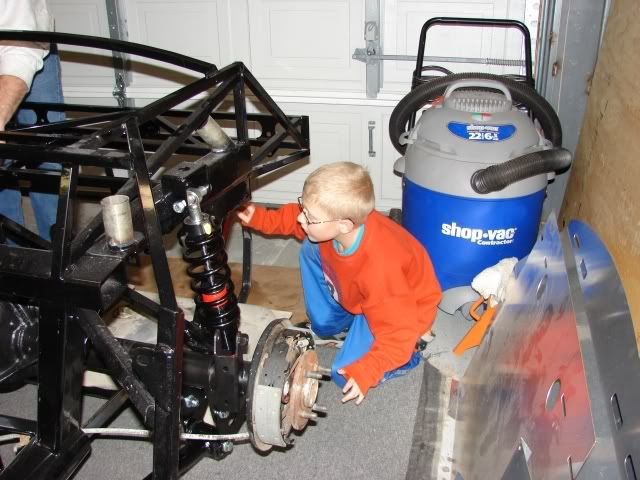
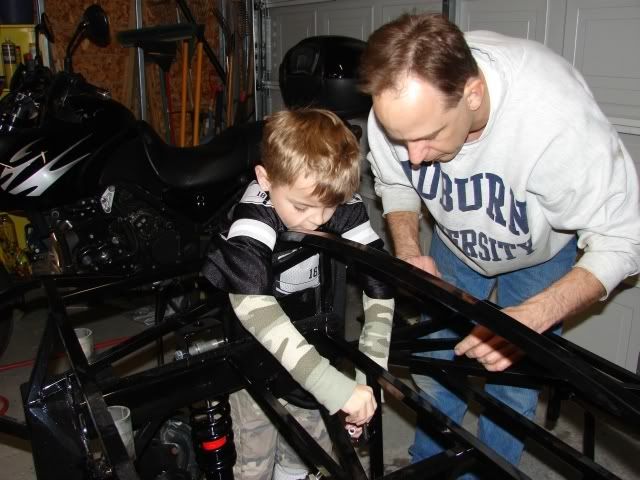
Just yesterday I was saying I might have this thing running in a couple more weeks. Then today each little project led to the next and all-of-a-sudden it was ready to start. I couldn't believe it. I kept checking and checking but couldn't find anything else to hook up. The time had arrived. So, I grabbed my neighbor, my son and my wife and dragged 'em all out to the garage. Kym grabbed the camera on the way out (thank you.) What a moment!

I guess the next step is to finish cleaning up the wiring. Most of the "wire diet" is complete (removing unnecessary circuits) so now I just have to tidy things up. Next landmark is the first go-kart ride!

Monday, February 18, 2008

The Trunk Modifications

Three modifications can be seen in the above picture. First is the battery relocation. Factory Five instructions call for the battery to sit on the trunk floor (taking up valuable space.) I built a box to "hang" the battery from the trunk floor. Later, a lid will cover the battery compartment.

Also seen are the external battery terminals. Since getting to the battery might be tricky (at night, in a parking lot with a dead battery), I decided to install these extra terminals. They allow a jumper battery to be hooked up without actually going to the battery.

Lastly is the trunk expansion kit. The entire lower section of the trunk was expanded down to provide additional storage capacity. This kit came from CobraEarl and took a weekend to install. He provided excellent instructions in the form of a Power Point presentation. I simply took the lap top computer out to the garage and flipped thru the presentation (with lots of pictures.) Getting my work to look like his vivid photos made the task fun!

This view is from the front looking back. We see the backside of the remote battery terminals. The homemade battery box can be seen a little better.

And, finally, with the floors sitting (not fastened yet) in place. This gives a better idea what the finished trunk will look like.


Installing the Radiator


This weekend I installed the radiator. The radiator is all alluminum, made by Afco. The fan shroud is a custom alluminum piece made by So Cal. The fan was included with the Factory Five kit. With a little drilling and tweaking the pieces went together smoothly.


I also started work on the wiring. First step is to install the fuse box. Its located above the drivers left knee, above the clutch pedal. Pretty much everything goes out from this point. Some of those wires, like the pink one with masking tape, aren't going to used initially. That pink one was for the power windows on the Mustang. Never know when I might need power for a circuit added later.


Monday, February 11, 2008

Building Up the Engine

Above, the engine is starting to come together. You can see the accessories on the front of the engine have been installed along with the intake manifold. I installed the accelerator cable and clutch cables this week. Hopefully first start will be 1st week of March.
Here you can see I bent the chrome fuel lines so they will go on top of the exhaust instead of behind it like on the Mustang. You can also see the freshly painted catalytic converter. I used VHT white primer then Rustoleum BBQ Grill flat black on the cats. We'll see if it holds up.

I'm trying to mock up the exhaust system. I will try to paint the mufflers before the first start - just seeing what it will look like here - where will the mount bolts go.


Sunday, February 3, 2008

Installing the Engine


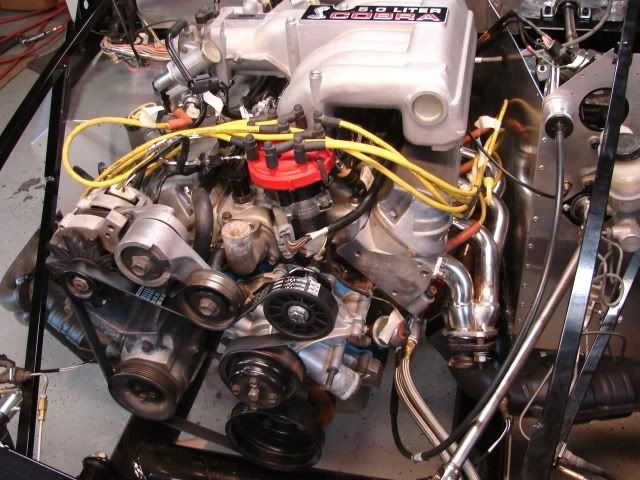
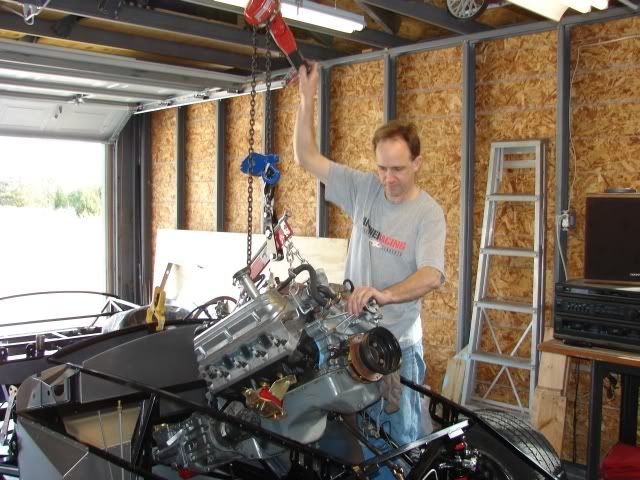
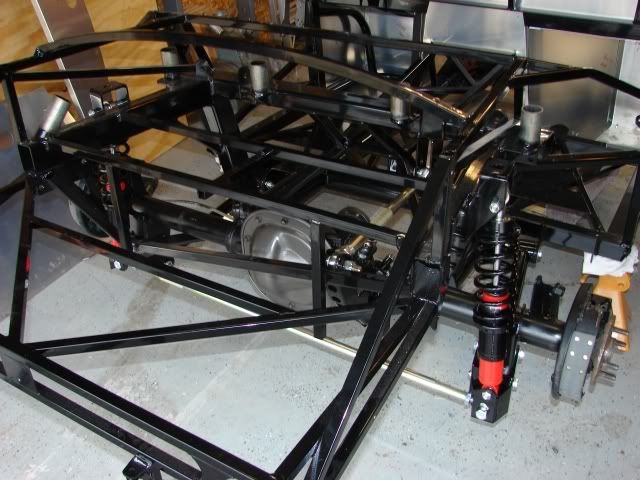
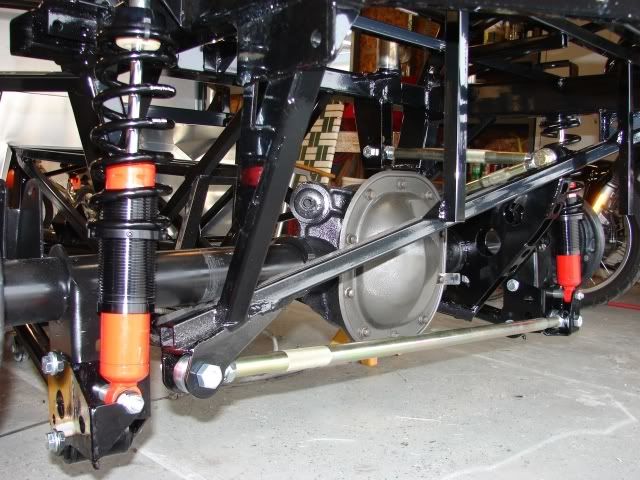
It took Kym and I about 30 minutes to put the engine/transmission assembly into the frame. Actually one of the easiest jobs so far. Having a steel frame garage came in handy. We rigged up a chain winch to the ceiling joists and cranked away. The car easily rolled up under the engine then the engine settled right into it's mount. Wow!
Kym is under the car securing the transmission mount bolts. I think she really enjoyed helping with this step.

Monday, December 24, 2007

Fuel Tank Installation

My son Josey and his friend Thad helped me install the gas tank. It was a good opportunity for young helpers.
Thad helps carry the tank to the back of the car.


Thad will help hold the tank up while Josey installs the bolts.
Josey figures out this thing will go together before trying it for real.
Two buddies help each other out.
Then on to the front suspension and steering rack...

Thursday, December 13, 2007

Installing the Rear Differential

The first parts we installed were rear suspension and drive components.

Before installing the differential we took it apart and sandblasted it. Then we waited for a warm day to spray paint it glossy black with the best Rustoleum money can buy.


Then we replaced the stock 2.73 gears with Ford Motorsport 3.27 gears. This will help us accellerate faster but will give us a higher cruising RPM. The penalty for quicker accelleration will be increased fuel consumption.


We installed new brake shoes and cylinders while they were apart. Later we will put new drums on.

It took 2-3 hours to install the differential along with the suspension gear. Those are Koni coil-over shocks. This suspension set-up is called a 3 Link.


That shiny bar at the bottom fixes the differential from being able to move sie-to-side while cornering. The bar is adjustable to center the rear wheels behind the front wheels. It's called a Pan Hard bar; I don't know why.